The four-eyes principle is not activated at your company.
You have created the SEPA cancellation or edited and saved it.
You have prepared your security medium.
|
1. |
Click on Send. |
||||||||
|
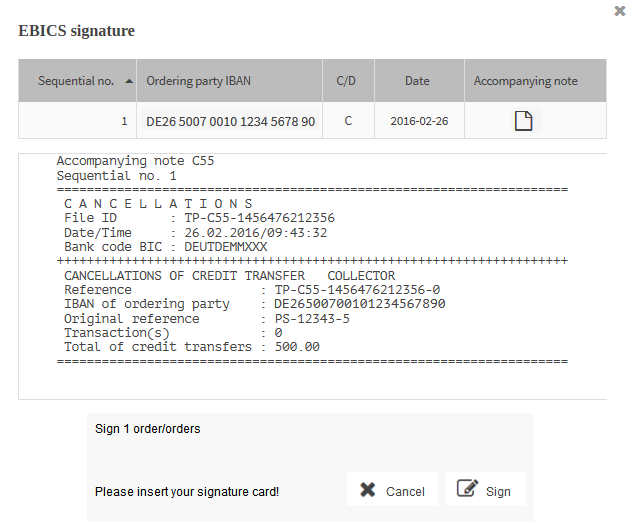
2. |
The mask of the security plugin opens, showing you the data of the cancellation. |
||||||||
|
|

|
||||||||
|
3. |
To view and save the accompanying note for the cancellation, select the button
|
||||||||
|
4. |
To continue with the signing of the SEPA cancellation, click on Sign. |
||||||||
|
5. |
Authenticate yourself with your security medium.
|
 in the column